How to Migrate Exchange 2019 Public Folders to Office 365 Directly?

Do you want to migrate large public folders to Office 365 account? If yes then, you are landed at correct page as we have come up with a complete solution to import public folder to Office 365 mailbox.
Office 365 provides a range of no maintenance as well as hassle-free business accounts. Due to this, firms are migrating from on-premises Exchange to Office 365 mailbox.
However, in spite of proper planning, users as well as Admins get stuck with migration of public folders. Public folders migration via a manual methods are complicated as well as time taking. Hence, involves lengthy downtime. To make the migration easier, you can use BitData Exchange Server Backup.
In the following write-up, know the reasons and way to import public folders to Office 365 mailbox directly.
Top Reasons – Office 365 Groups Score Better than Public Folders
Public folders are diverse from MS Office 365 Groups. Office 365 Groups are the up-to-date collaboration provided by Microsoft whereas Public Folders is an old technology and Microsoft does not give a dedicated User Interface for the smooth migration of Live Exchange Public Folders.
- Better Collaboration for Emails – MS Office 365 provides dedicated discussion space in the Groups to let users easily collaborate with others in Group and preserve dedicated space. Users can broadcast the information on their Group.
- Option of Shared Calendar- On formation of Groups, each user develops a shared calendar, by default. Users have an opportunity to apprise this calendar in MS Office 365 as compared to Exchange 2019, 2016, 2013, 2010, 2007, etc.
- Permissions are Simplified – Office 365 gives an option to directly assign users in Group immediately originates permissions they want.
Due to these reason, migration of mailboxes is moderately easier, but when it comes to migration of firm’s public folders, users are incapable to locate any kind of UI for fruitful movement.
Either practice Batch Migration process to transfer emails or calendars from existing Public Folders to Office 365 Groups or choose for long migration of Public Folders to Office 365. Read further to know in details the way to migrate Exchange 2019 public folder to Office 365 mailbox.
Migrate Exchange Public Folder to Office 365 Step-by-Step Process
Follow the given steps to move working exchange 2019, 2016, 2013, 2010, 2007 to Office 365 account directly.
- Download and install Exchange Public Folder to Office 365 Migrator on your system.


- From list of Email Source, choose Exchange Server to import Public Folders to O365 account.
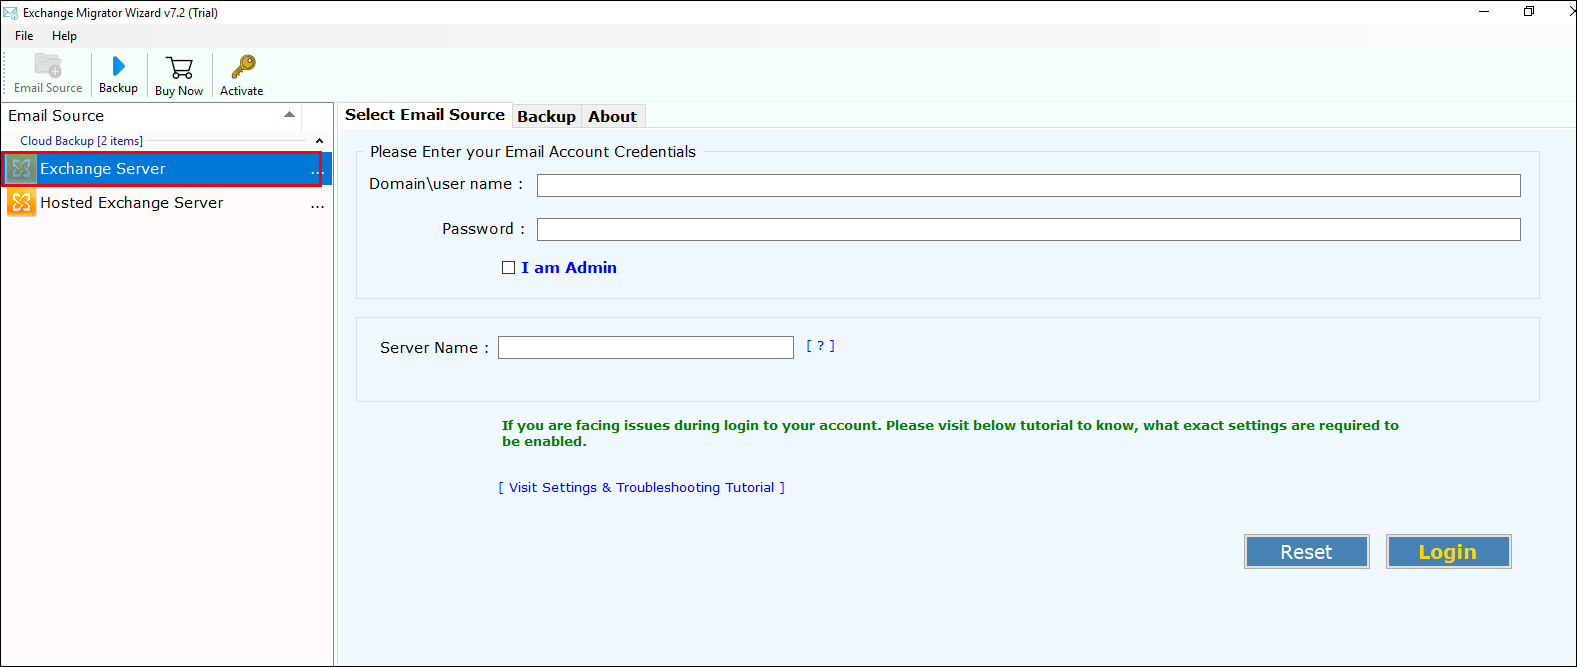
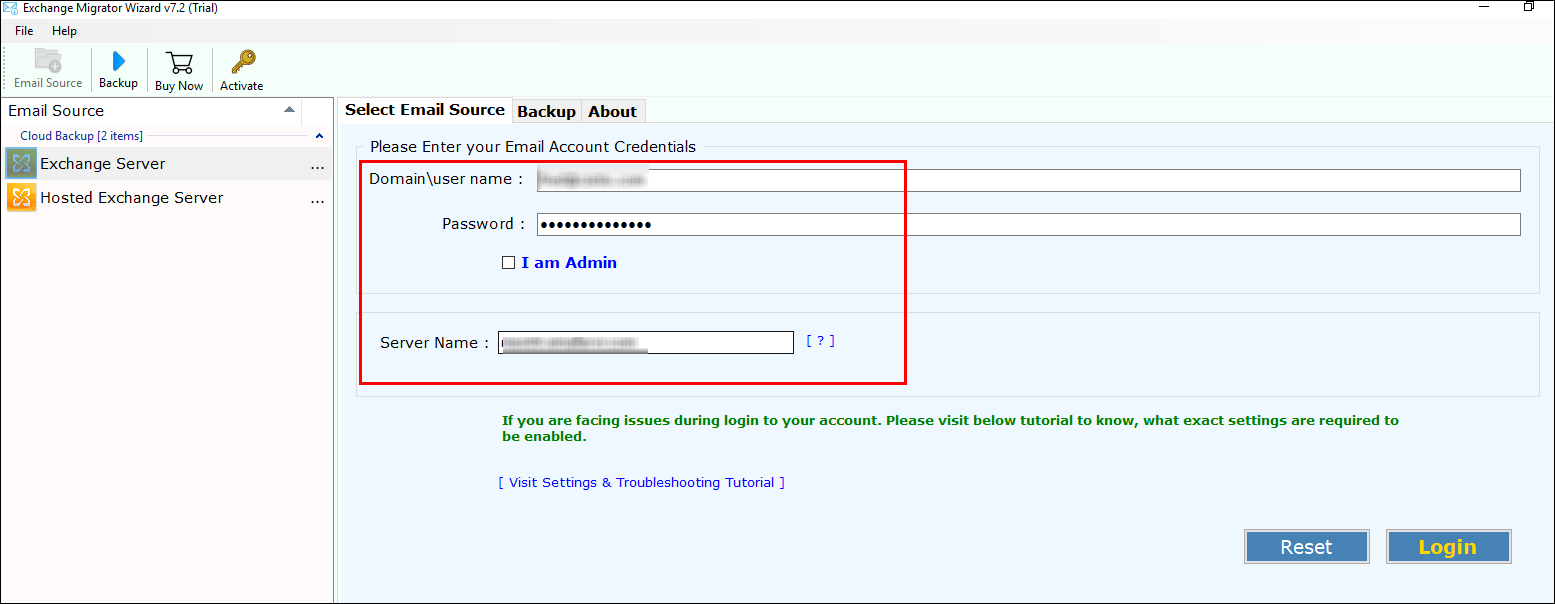
- Enter the credentials of your Exchange Server 2019, 2016, 2013, 2010, 2007 to execute data migration.
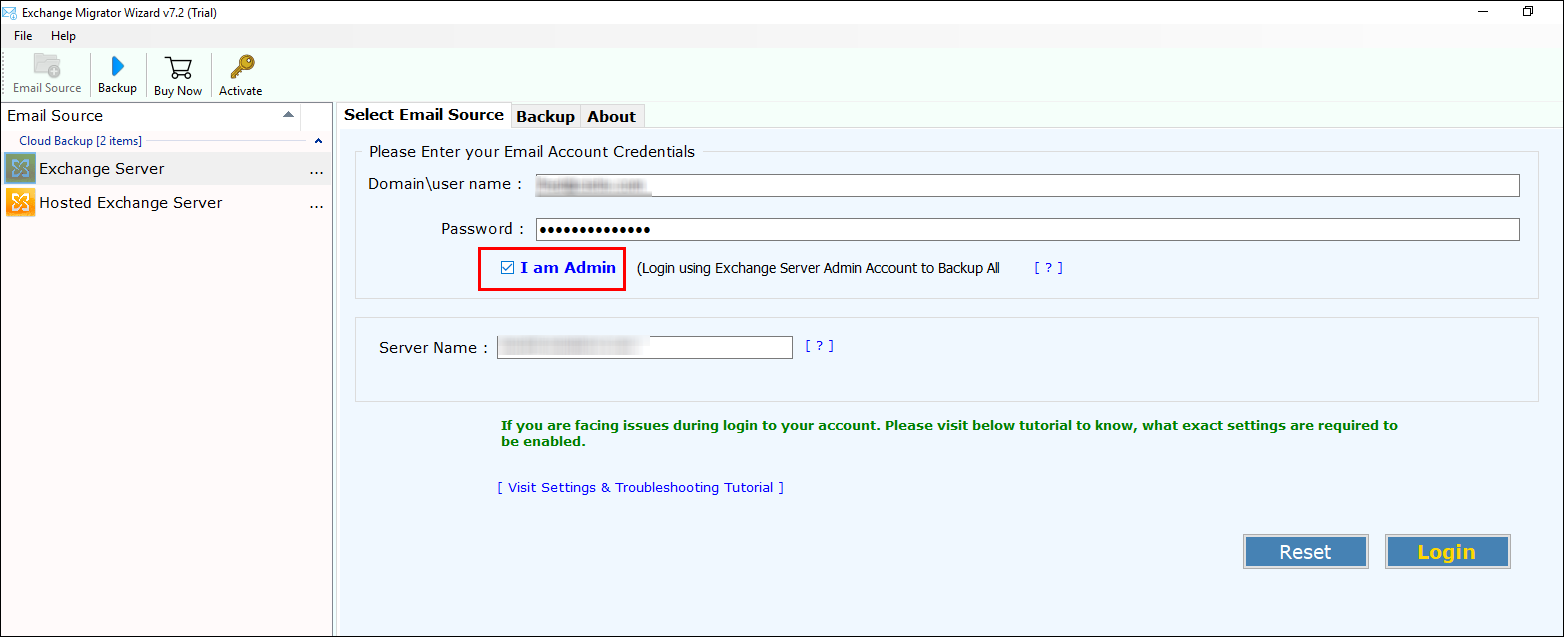
- Choose an option “I am Admin” if you are an Admin.
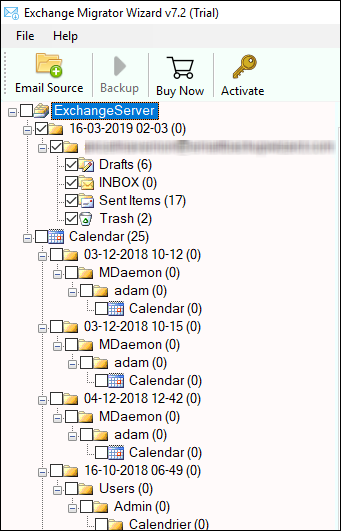
- Check the desired folder to be imported to Office 365 mailbox from MS Exchange.
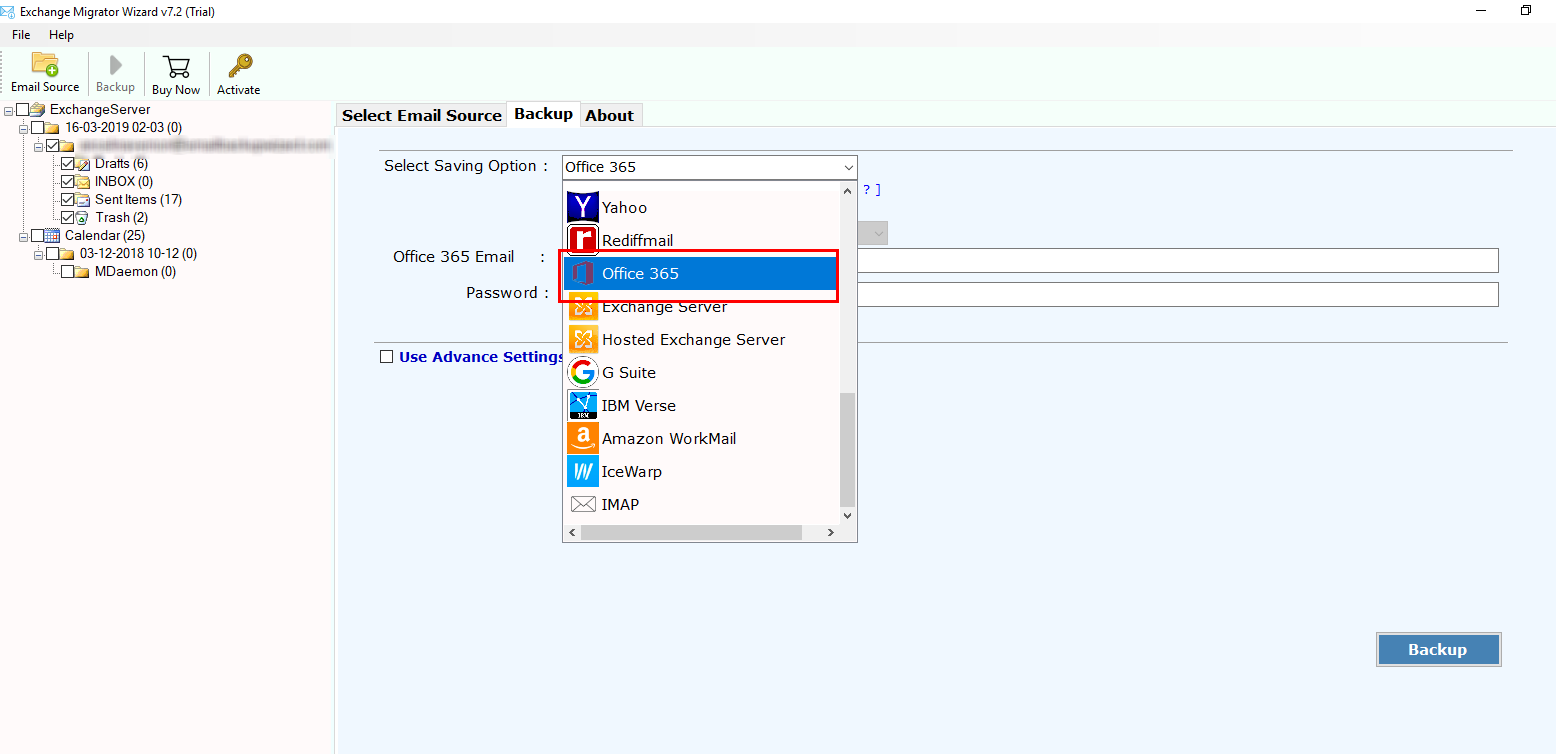
- From saving options, select Office 365 to perform Public folder to Office 365 migration.
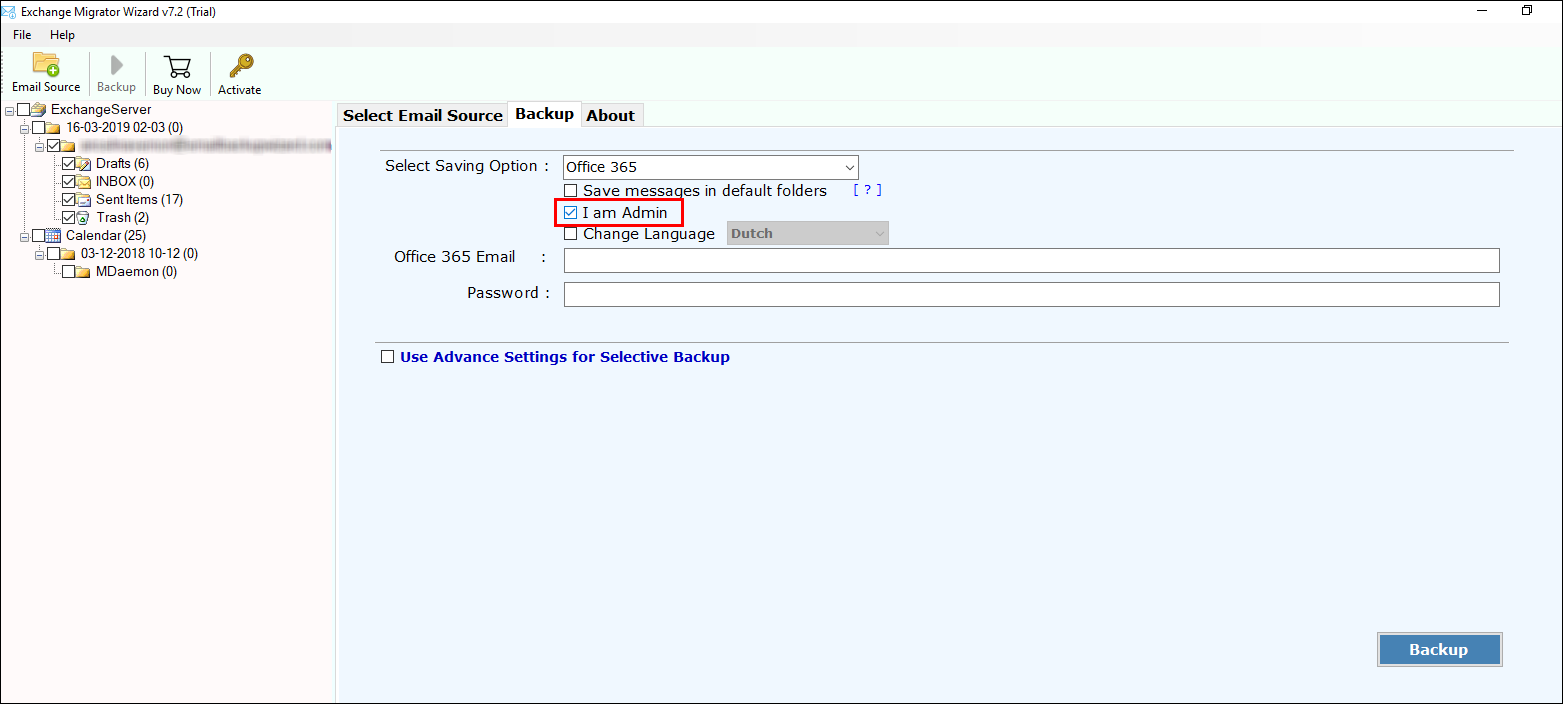
- Check an option “I am Admin” if you are admin. It makes easy to execute multiple mailbox mapping. For using user-accounts be sure that the Application Impersonation along with mailbox delegation is permitted.
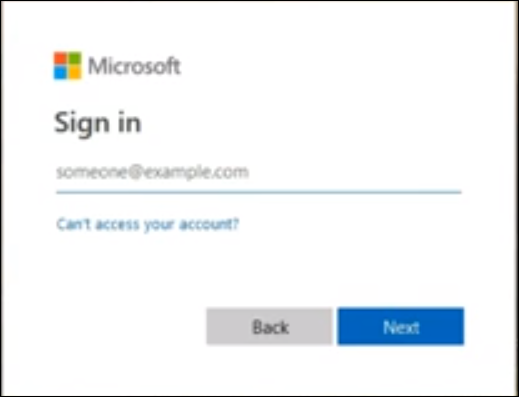
- Open your MS Office 365 mailbox >> enter your credentials.
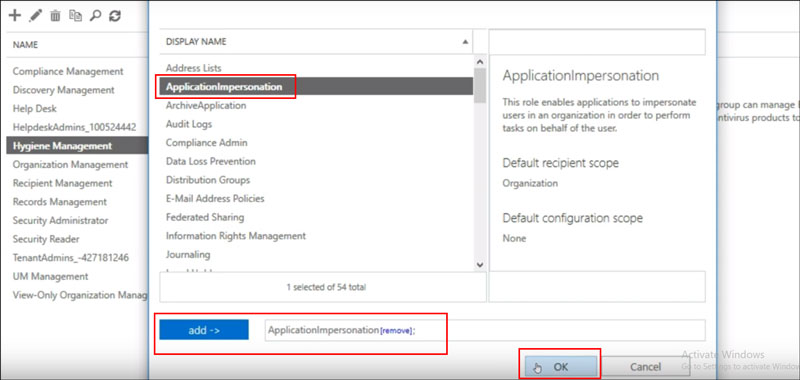
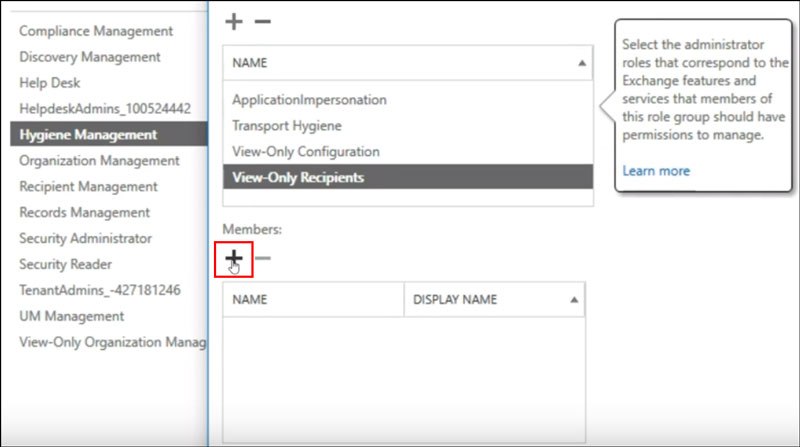
- Click for permissions >> select Hygiene Management >> “+” to add Application Impersonation.

- Choose ApplicationImpersonation >> click on Add >> OK.
- Hit on the button “+” to add admin members.
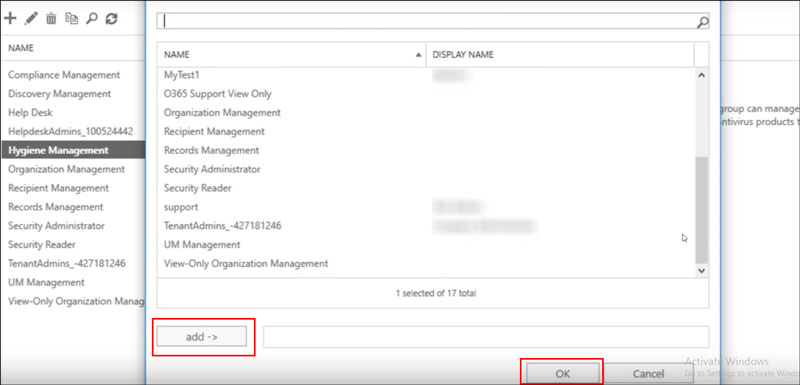
- Choose member >> Add button >> Ok.
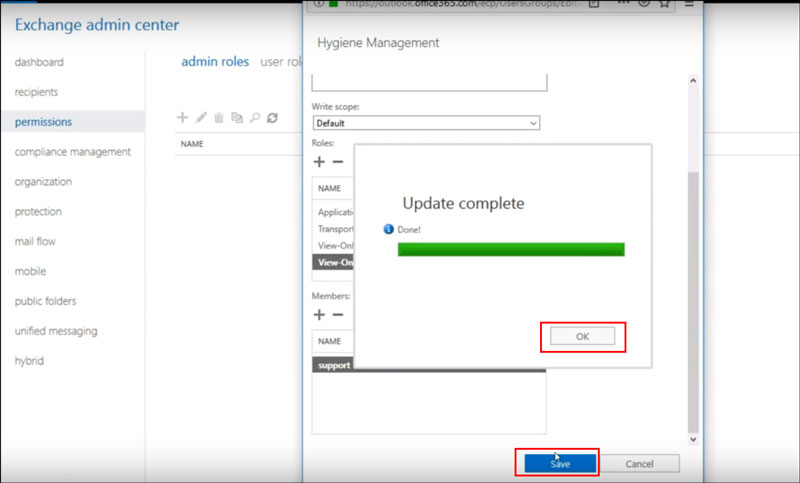
- Choose Save button once the update is completed, you will have completion message >> Ok.
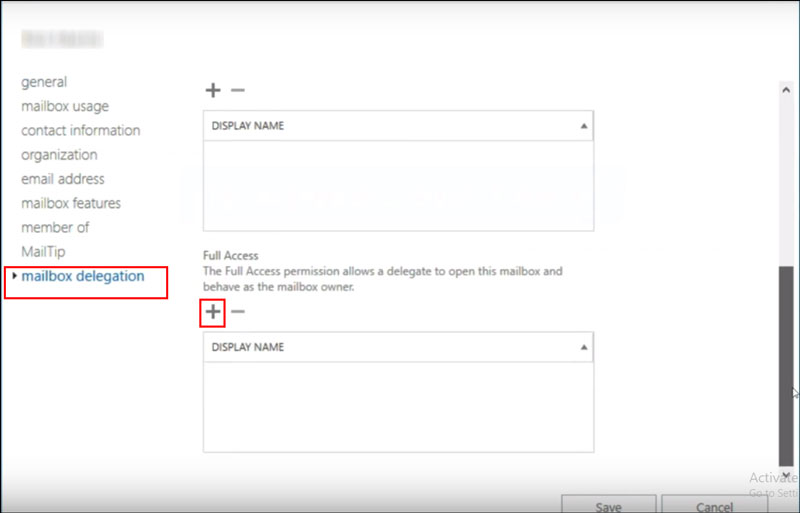
- Add mailbox allocation permission for administrator >> Recipients.
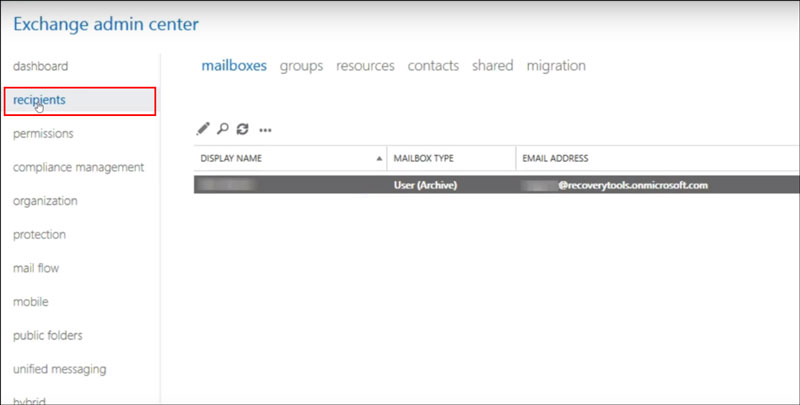
- Choose Mailbox Delegation >> “+” for adding Full Usage to Admin. Click on Save.
After this, go back on application’s panel.
- Select desired language from given option list.
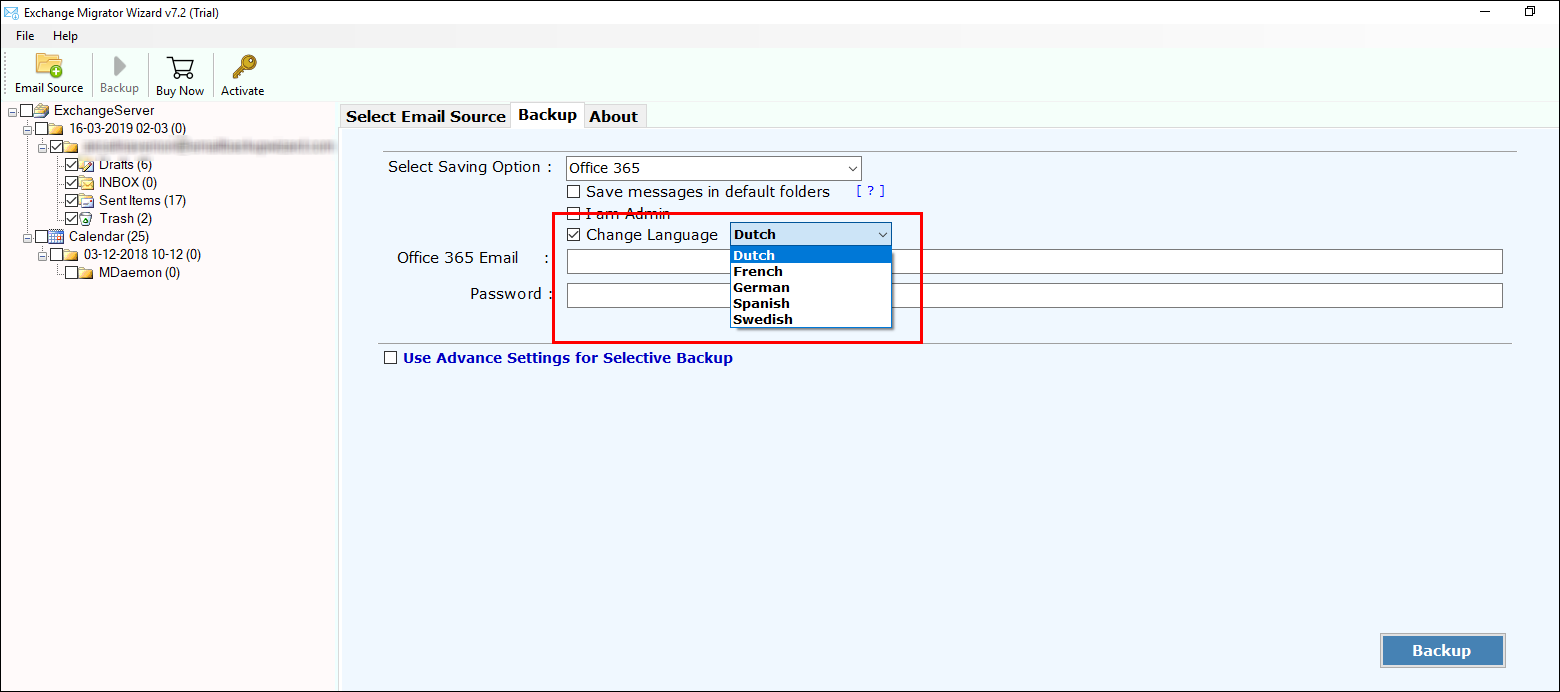
- Enter the credentials of Office 365 account to save Public folder in Office 365.

- If you need to execute selective migration then, use the Advance setting options >> click on Backup.
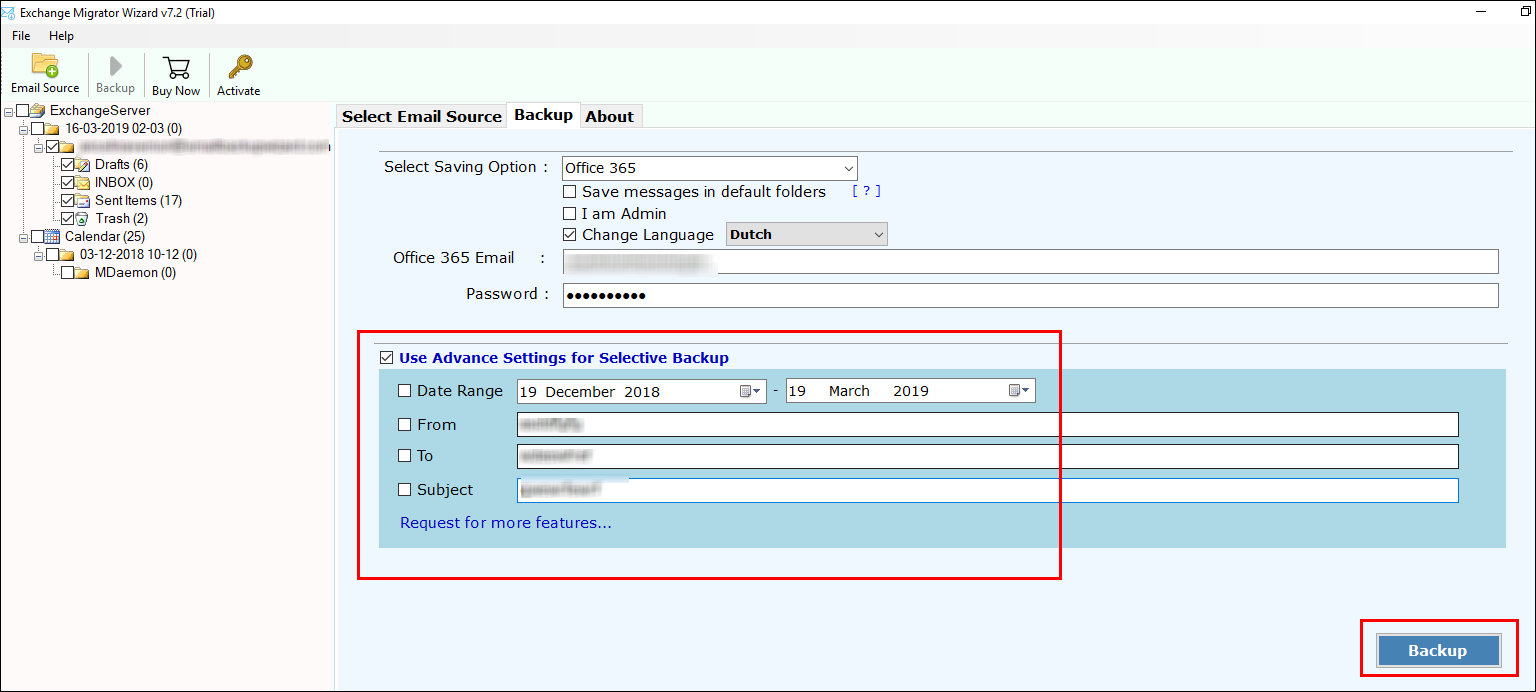
- Once migration is completed, you get message of completion.
In Summation
The problems of manual migration way that involves executing multiple steps to migrate Public Folders to Office 365 can be easily overcome by using the above-mentioned solution to migrate Exchange 2019 public folders to Office 365 account directly.


