How to Import Axigen to Exchange Server, On-Premise Exchange, Online Exchange?

Many users search for the solution to migrate Axigen to Exchange Server directly. But now your search is over as I have come up with a solution to transfer Axigen to Live Exchange Server with BitData Email Backup Wizard.
As few days back, I got a project to convert Axigen to Online Exchange Server. I was not at all aware that how to migrate Axigen to Exchange Server. Then, I explored a lot and got Axigen to Exchange Server Converter software.
Free Download Axigen to Exchange Server Migration Tool


I used the freeware demo version of software in a way to understand the software completely before investing on it. After understanding the software’s functionality, I purchased its full version to perform Axigen to Working Exchange Server Conversion.
Step-by-Step Process to Migrate Axigen to Live Exchange Server
Follow the given steps to perform Axigen to Working Exchange migration in a way to save Axigen Webmail to Exchange Server 2019, 2016, 2013, 2010 directly as mentioned below:
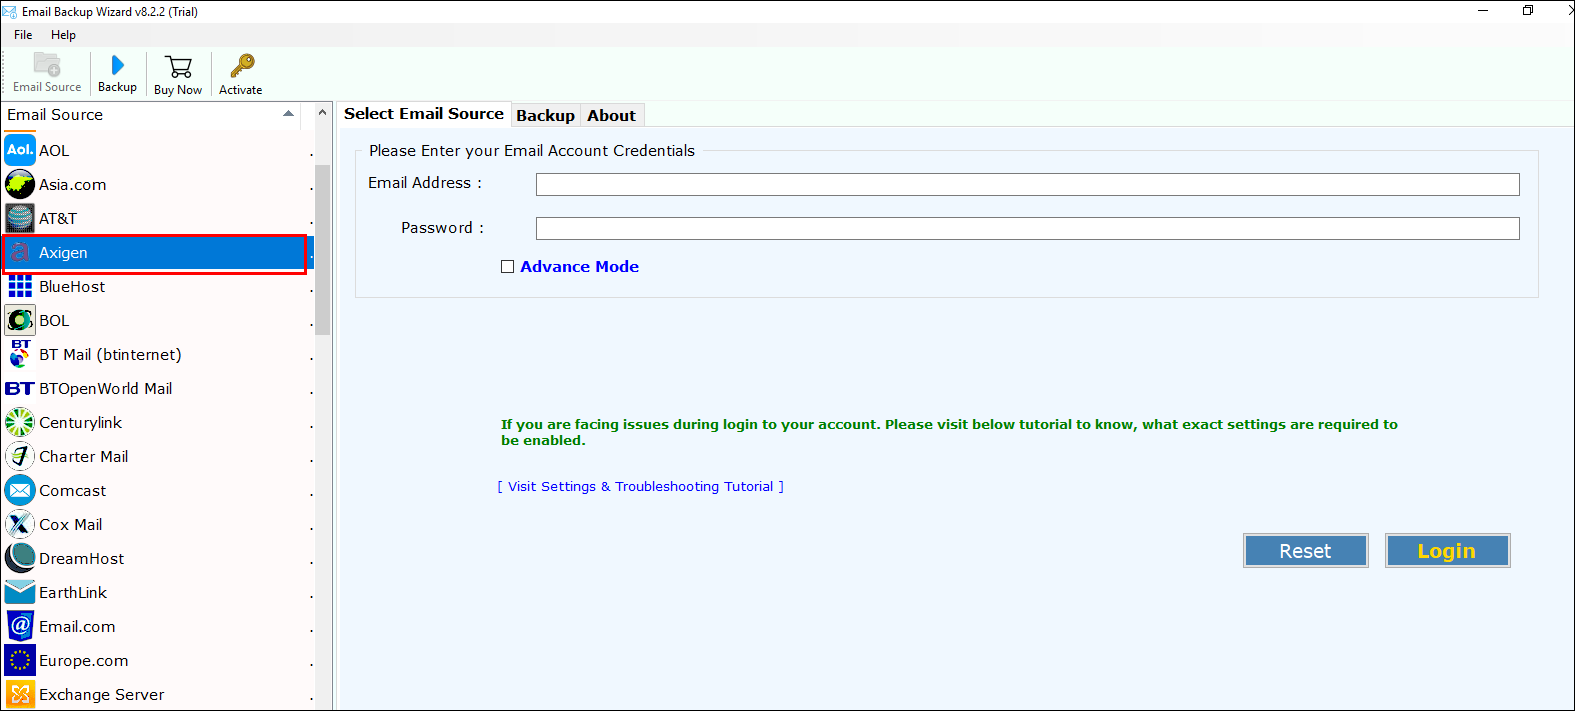
- Download and run Axigen to Exchange Server Converter on your machine.
- Choose Axigen from list of email source to transfer Axigen mail to live Exchange Server migration.
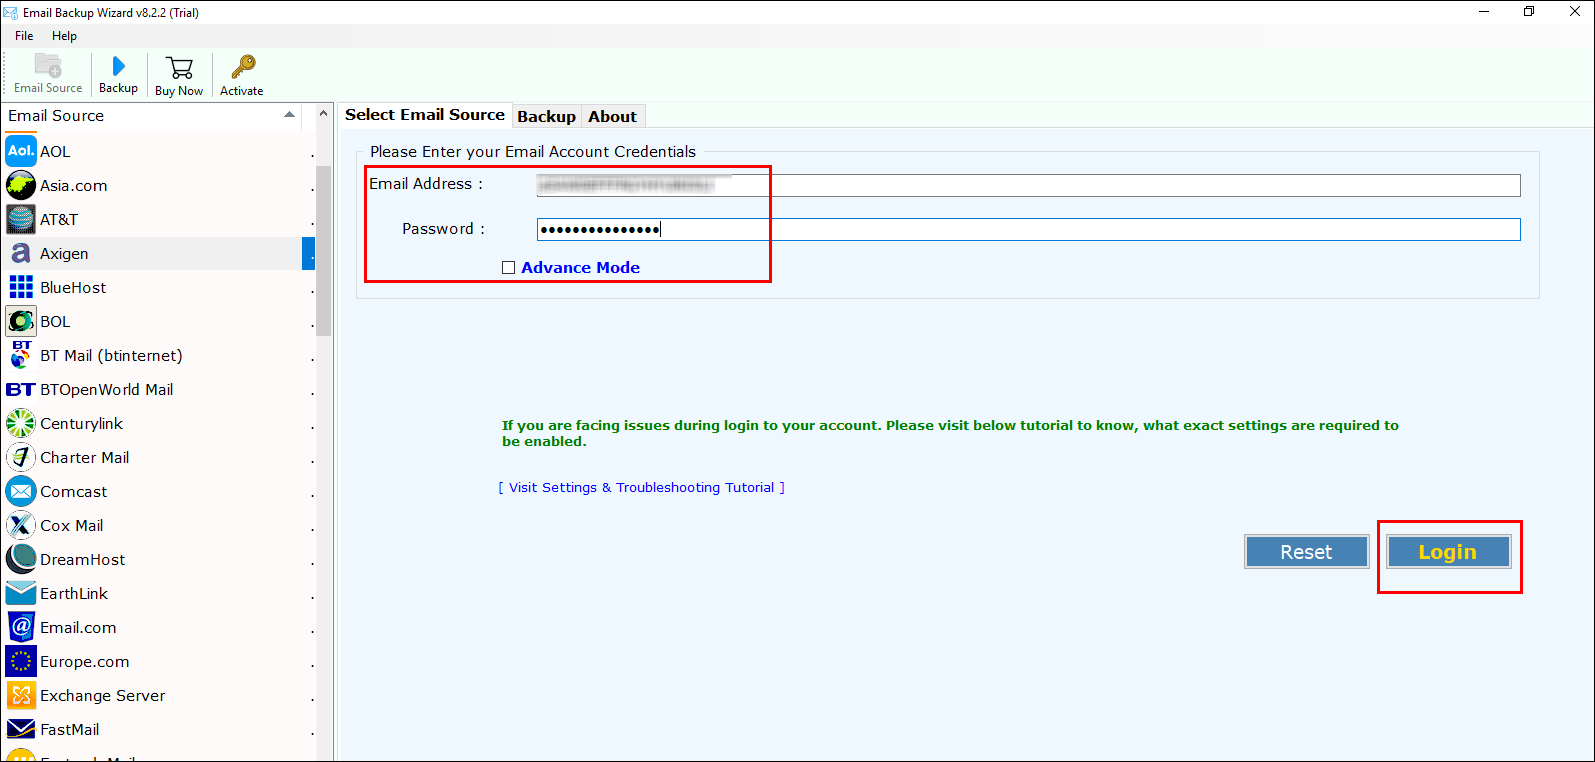
- Enter credentials of Axigen Webmail to upload Axigen emails to Live Exchange Server >> login.
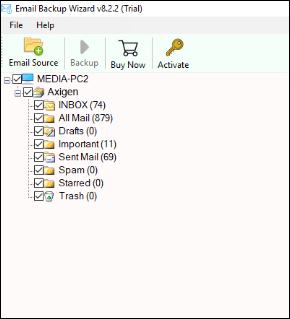
- Check desired Axigen mail folder to be migrated from Axigen to Online Exchange Server.
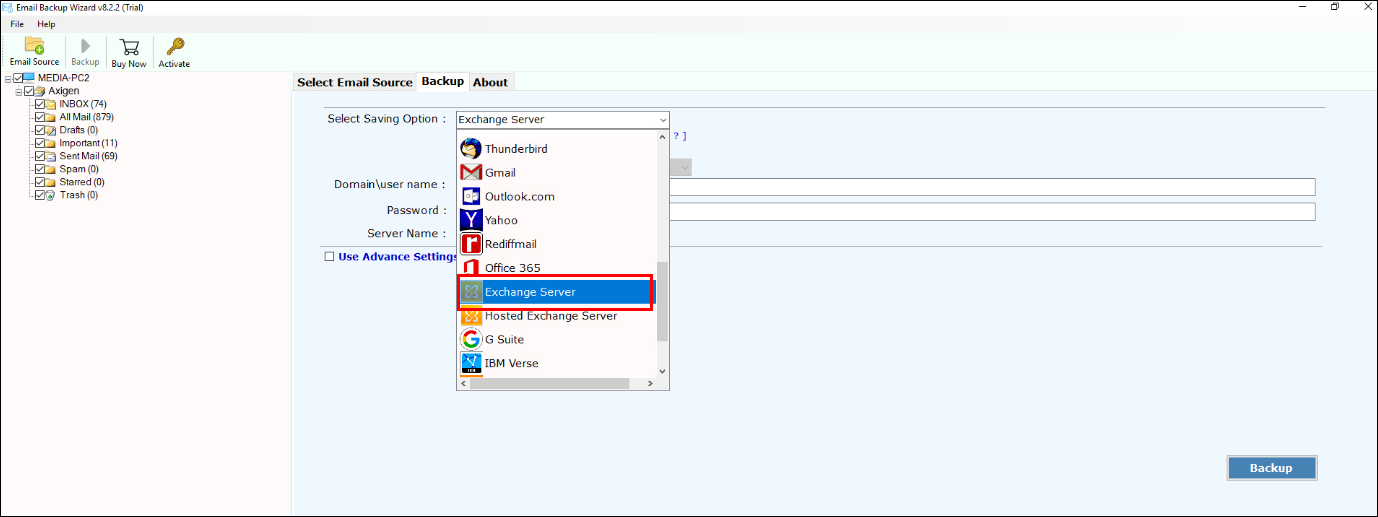
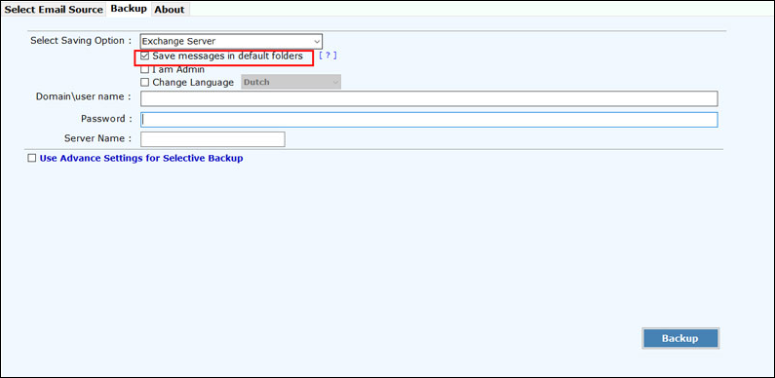
- From list of the saving options, select Exchange Server to save Axigen to Live Exchange Server.
- If you want to save resultant data files in default folder then, just check “Save Messages in Default Folders” option.
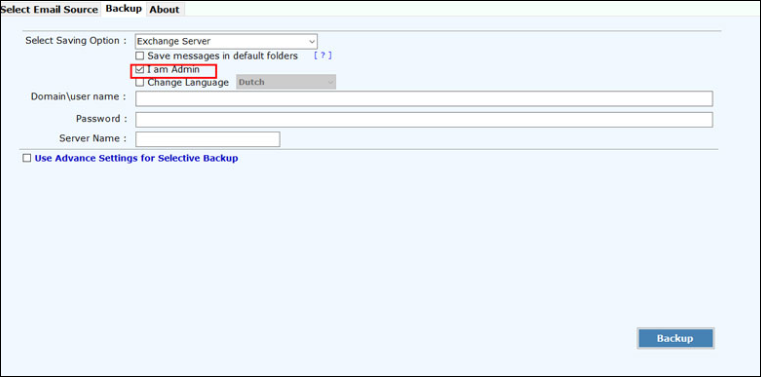
- If you are an admin then, click on an option “I am Admin.”
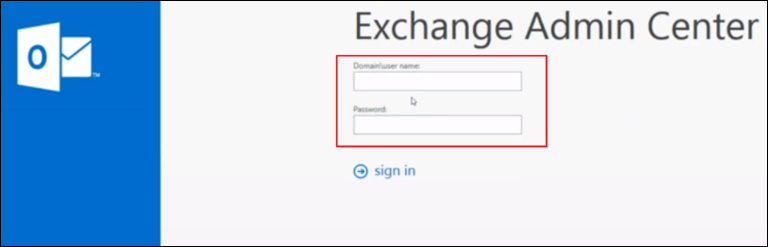
- Open your Microsoft Exchange Control panel on machine >> Enter its credentials.
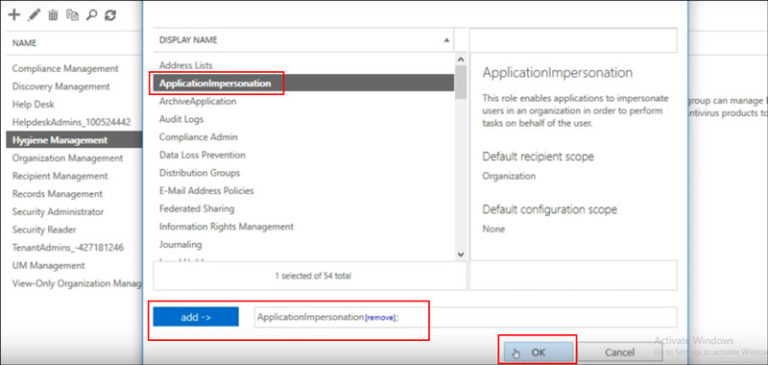
- Click on the options of permissions then, select Hygiene Management. Choose “+” icon for addition of Application Impersonation role.
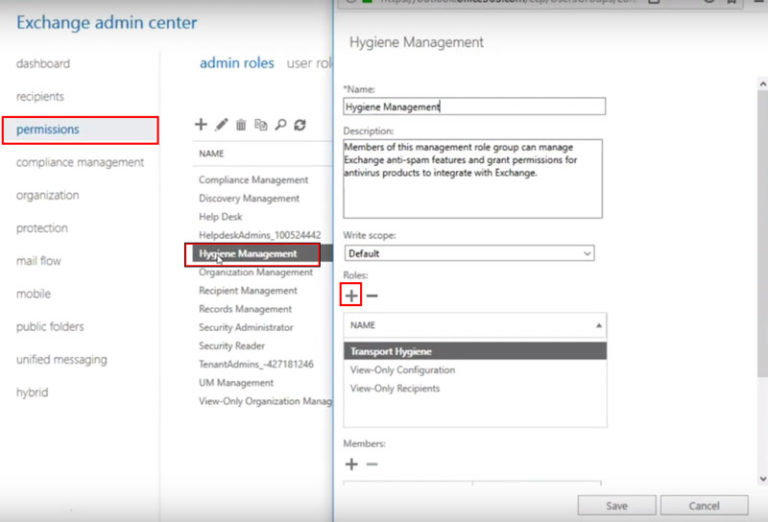
- Choose an option for ApplicationImpersonation >> click on Add button >> click on OK.
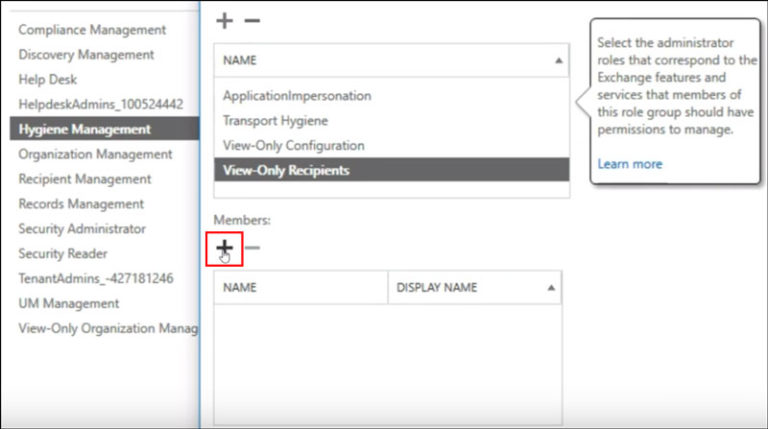
- Choose “+” icon for addition of add admin mailbox user’s list.
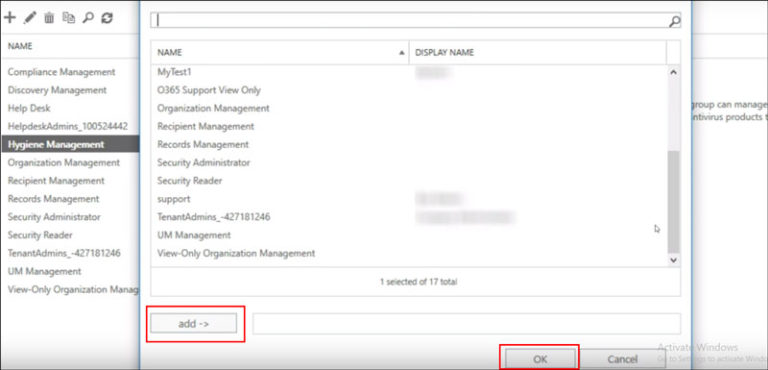
- Select member >> click Add button >> click Ok.
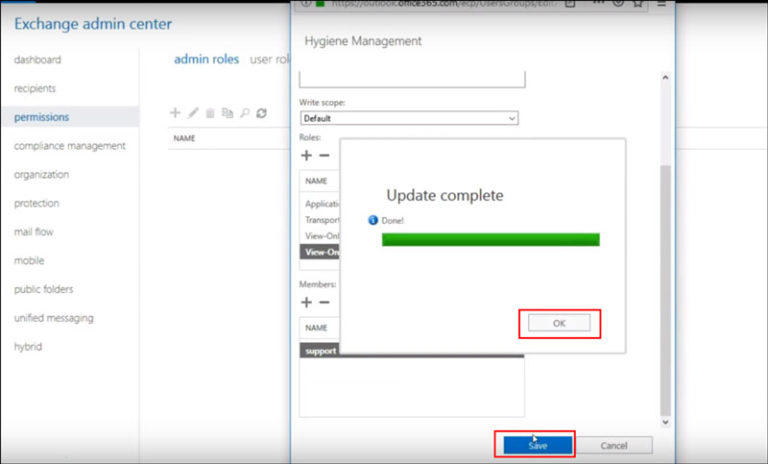
- Click on save button once the update is done, you will have message of completion.
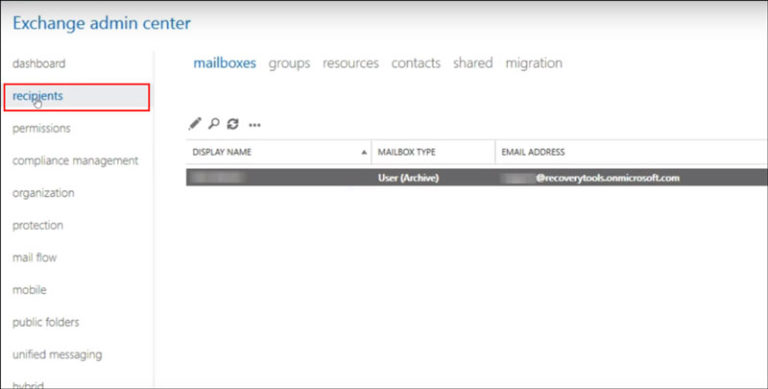
- Add the mailbox delegation practice for the administrator >> click on Recipients.
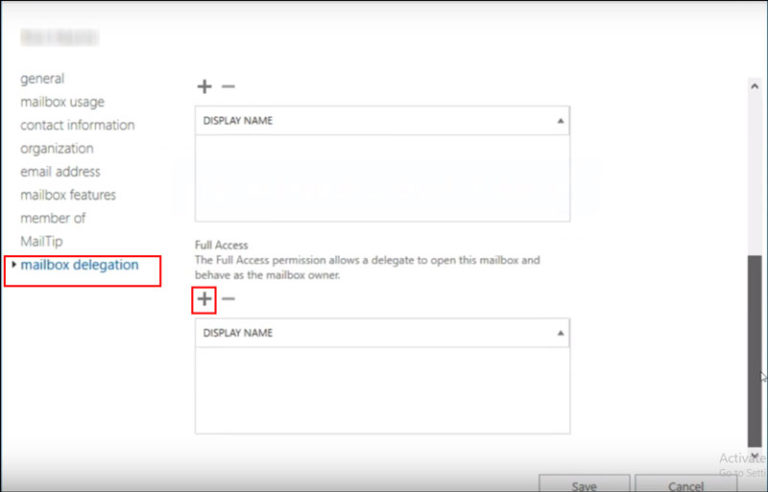
- Click on the Mailbox Delegation and click “+”icon for adding full Access for Admin >> save button.
Now, go to software panel again.
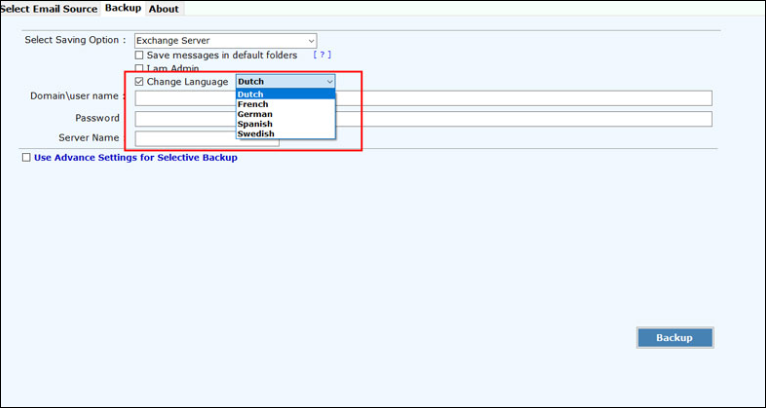
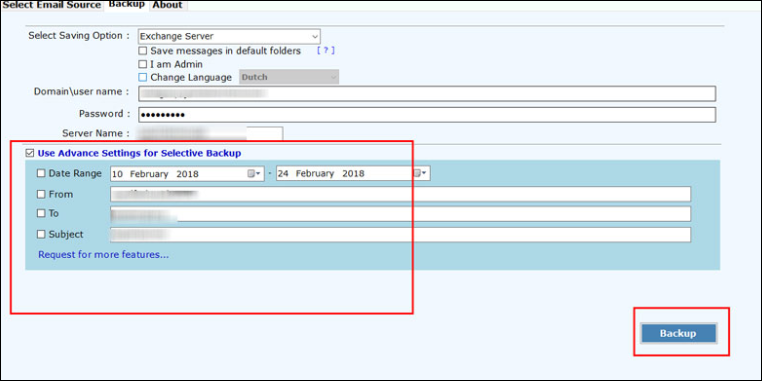
- If you need to change language then, check an option of change language.
- Enter the credentials of your Working Exchange Server along with server name.
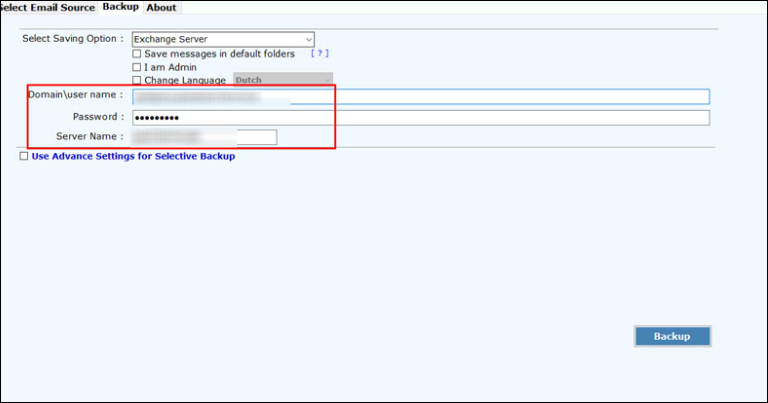
- If you want to need specific email conversion then, check an option “Use Advance Settings for Selective Backup” >> click on Backup.
- Once the migration is completed, you have a message of completion.
With this process, I exported all my Axigen Webmail emails to Live Exchange mailbox directly. It takes only few moment to implement data migration process. The best thing that I found in this software is that integrity of data is maintained after migration. Let us have a look over the software.
High-Ended Features of Axigen to Online Exchange Converter
- Software gives user-friendly interface that allows even non-technical user to implement it smoothly.
- The software helps user to move unlimited number of Axigen folders to Live Exchange Server by maintaining all Meta information in exact form.
- Import Axigen files to Online Exchange Server, software migrates all emails by maintaining email properties in exact form without data loss.
- The software is operable over all versions of MS Exchange and MS Windows too.
- Converts unlimited data files from Axigen Webmail to Live Exchange Server.
- Time saving software to export multiple Axigen emails to Exchange Server.
By ending my talk, I must say that explore more on technology to know and execute new things. Also, using an accurate solution is vital to attain data in appropriate way.


